
Stripe Setup
Configure the Stripe integration to sell licenses directly through Stripe Checkout Sessions, with full support for subscriptions and one-time payments.
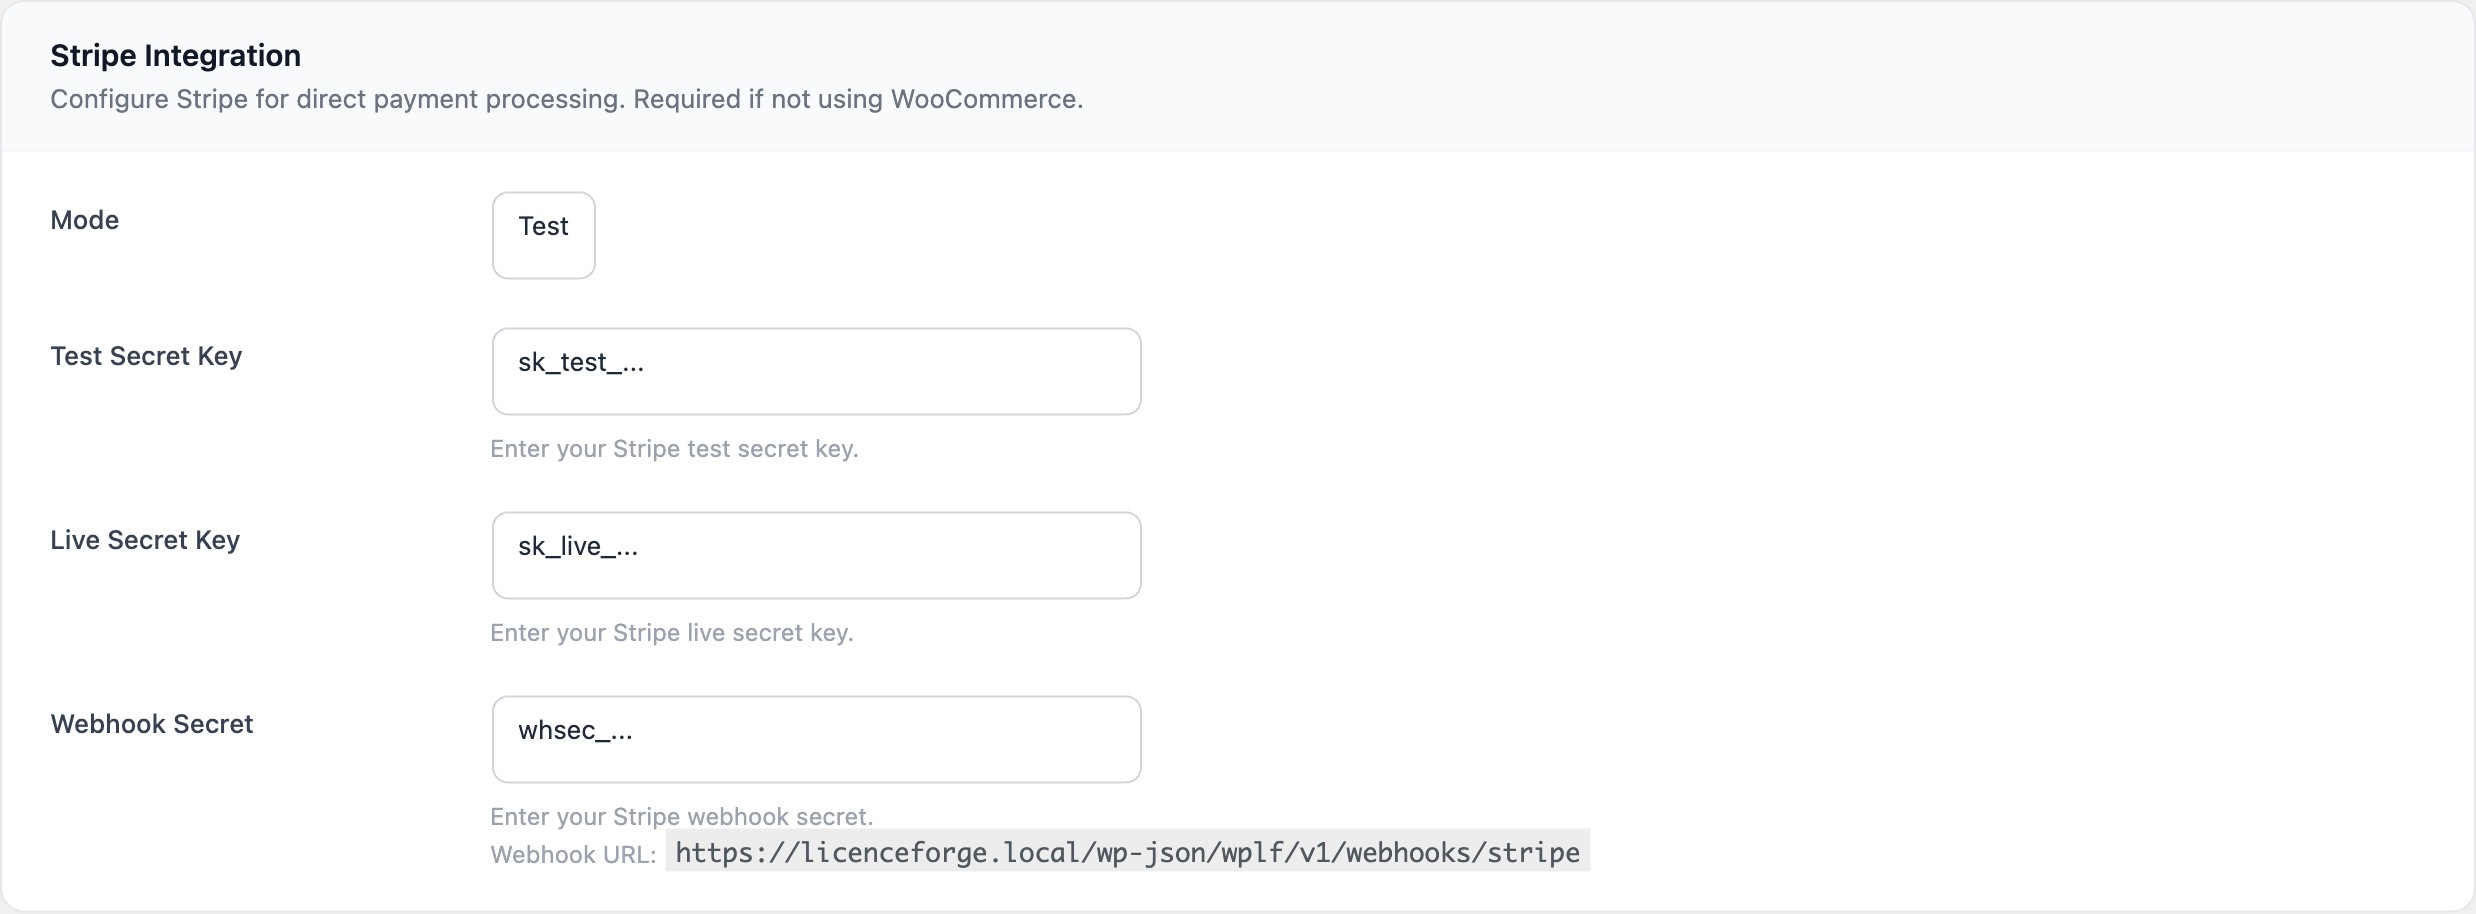
Settings
Navigate to LicenceForge > Settings > Stripe to configure the integration. The following settings are available:
| Setting | Description |
|---|---|
stripe_mode |
Toggle between test and live mode. Test mode uses Stripe's test API keys and does not process real payments. |
| Test Secret Key | Your Stripe test secret key (starts with sk_test_). Encrypted at rest. |
| Live Secret Key | Your Stripe live secret key (starts with sk_live_). Encrypted at rest. |
| Webhook Secret | The webhook signing secret from your Stripe Dashboard (starts with whsec_). Used for HMAC-SHA256 signature verification. |
API Key Encryption
All Stripe API keys are encrypted before being stored in the WordPress options table using WPLF_Crypto::encrypt_option(). This ensures that sensitive credentials are never stored in plain text in the database.
// Keys are encrypted before storage
WPLF_Crypto::encrypt_option( 'wplf_stripe_test_secret_key', $test_key );
WPLF_Crypto::encrypt_option( 'wplf_stripe_live_secret_key', $live_key );

// Keys are decrypted on retrieval
$secret_key = WPLF_Crypto::decrypt_option( 'wplf_stripe_' . $mode . '_secret_key' );Never commit Stripe API keys to version control or share them in plain text. LicenceForge encrypts them at rest, but you are responsible for securing them during entry and in any external configuration.
Configuration Check
LicenceForge provides an is_configured() method to verify that the Stripe integration is ready for use. This method checks whether an API key is present for the current mode.
// Check if Stripe is configured
if ( WPLF_Stripe_Service::is_configured() ) {
    // Stripe is ready to accept payments
}

// Internally, is_configured() checks:
// - stripe_mode is set to 'test' or 'live'
// - The corresponding secret key is present and decryptable
API Requests
All Stripe API calls are routed through the WPLF_Stripe_Service::request() method. This central method handles:
- Automatic selection of the correct API key based on the current mode (test/live)
- Request signing and authentication
- Error handling and response parsing
- Logging of API calls for debugging
// All API calls go through the central request method
$response = WPLF_Stripe_Service::request( 'POST', '/v1/checkout/sessions', [
    'mode'        => 'subscription',
    'line_items'  => [ /* ... */ ],
    'success_url' => $success_url,
    'cancel_url'  => $cancel_url,
] );
Checkout Sessions
LicenceForge creates Stripe Checkout Sessions via create_checkout_session(). The session mode depends on the price tier's billing interval:
| Price interval | Checkout mode | Description |
|---|---|---|
month |
subscription |
Creates a recurring monthly subscription in Stripe Billing |
year |
subscription |
Creates a recurring annual subscription in Stripe Billing |
lifetime |
payment |
Processes a single one-time payment |
Session metadata
LicenceForge attaches metadata to each Checkout Session so that webhook handlers can create the correct license when the session completes:
| Metadata key | Description |
|---|---|
product_slug |
The LicenceForge product slug |
price_id |
The LicenceForge price tier ID |
activation_limit |
The maximum number of activations for the license |
// Creating a checkout session
$session = WPLF_Stripe_Service::create_checkout_session( [
    'price_tier' => $price_tier,
    'success_url' => home_url( '/checkout/success/?session_id={CHECKOUT_SESSION_ID}' ),
    'cancel_url'  => home_url( '/checkout/cancel/' ),
] );

// Internally builds:
// mode     => 'subscription' (for month/year) or 'payment' (for lifetime)
// metadata => [ 'product_slug', 'price_id', 'activation_limit' ]
Setup Steps
- Log in to the Stripe Dashboard.
- Copy your Secret Key from Developers > API keys (test and/or live).
- In WordPress, go to LicenceForge > Settings > Stripe.
- Select your Mode (test or live).
- Paste the corresponding Secret Key.
- Set up a webhook endpoint in Stripe (see Stripe Webhooks).
- Paste the Webhook Signing Secret into the LicenceForge settings.
- Save settings and run a test purchase.
Always test the full flow in test mode before switching to live. Use Stripe test card numbers (e.g., 4242 4242 4242 4242) to simulate successful and failed payments.
Configure your webhook endpoint and understand which events LicenceForge handles. See Stripe Webhooks.